Hola a todos!
Firstly, I give thanks to all who commented on my last post. To tell the truth, I've missed writing up a blog post, to accompany my awesome photography(if I do say so myself😊😝). I hope I haven't been gone for TOO long. Withal, I'm delighted to be back with yet another recipe using one of my favorite ingredients- lemons😍😉
This week' post is a healthier alternative to the classic British bake which revolves around the Spring season.
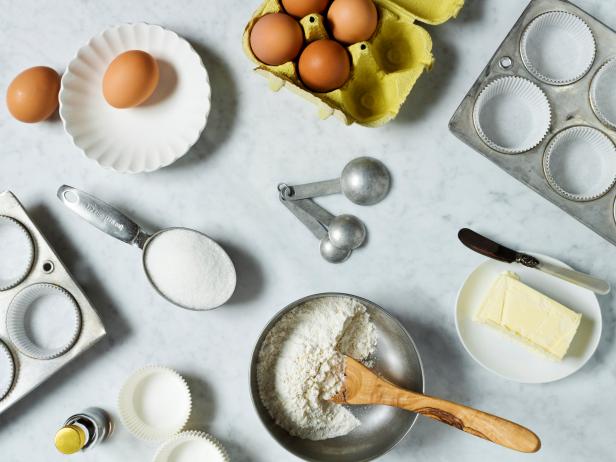
In order to concoct these healthy treats,you'll need:
180g of "spelt flour"
1 ½ tbsp of baking powder
¼ tsp of salt
zest of 1 medium lemon
28g of cold, unsalted butter
120g of plain nonfat Greek yogurt
45ml of maple syrup
3 tbsp of freshly squeezed lemon juice
1 tsp of vanilla extract
2 tbsp of milk
Method:
First and foremost, preheat the oven to 220/200 fan/ Gas Mark 7 and line a baking sheet with baking parchment.
To prepare the scones, whisk together the flour, baking powder and salt. Eventually whisk in the lemon zest. Add in the butter.
Make a well into the centre and incorporate the Greek yogurt, maple syrup,lemon juice and vanilla extract.Stir this until just mixed.
Transfer the dough int a prepared baking sheet. Brush the top over with milk. It's up to you whether you'd like to make one big scone or make 12 individual ones.
Bake for 17-19 minutes until the tops are lightly golden. Cool on the sheet for 5 minutes before transferring to a cooling rack. And volia! I decided to make lemon drizzle icing to accompany my yummy scones.
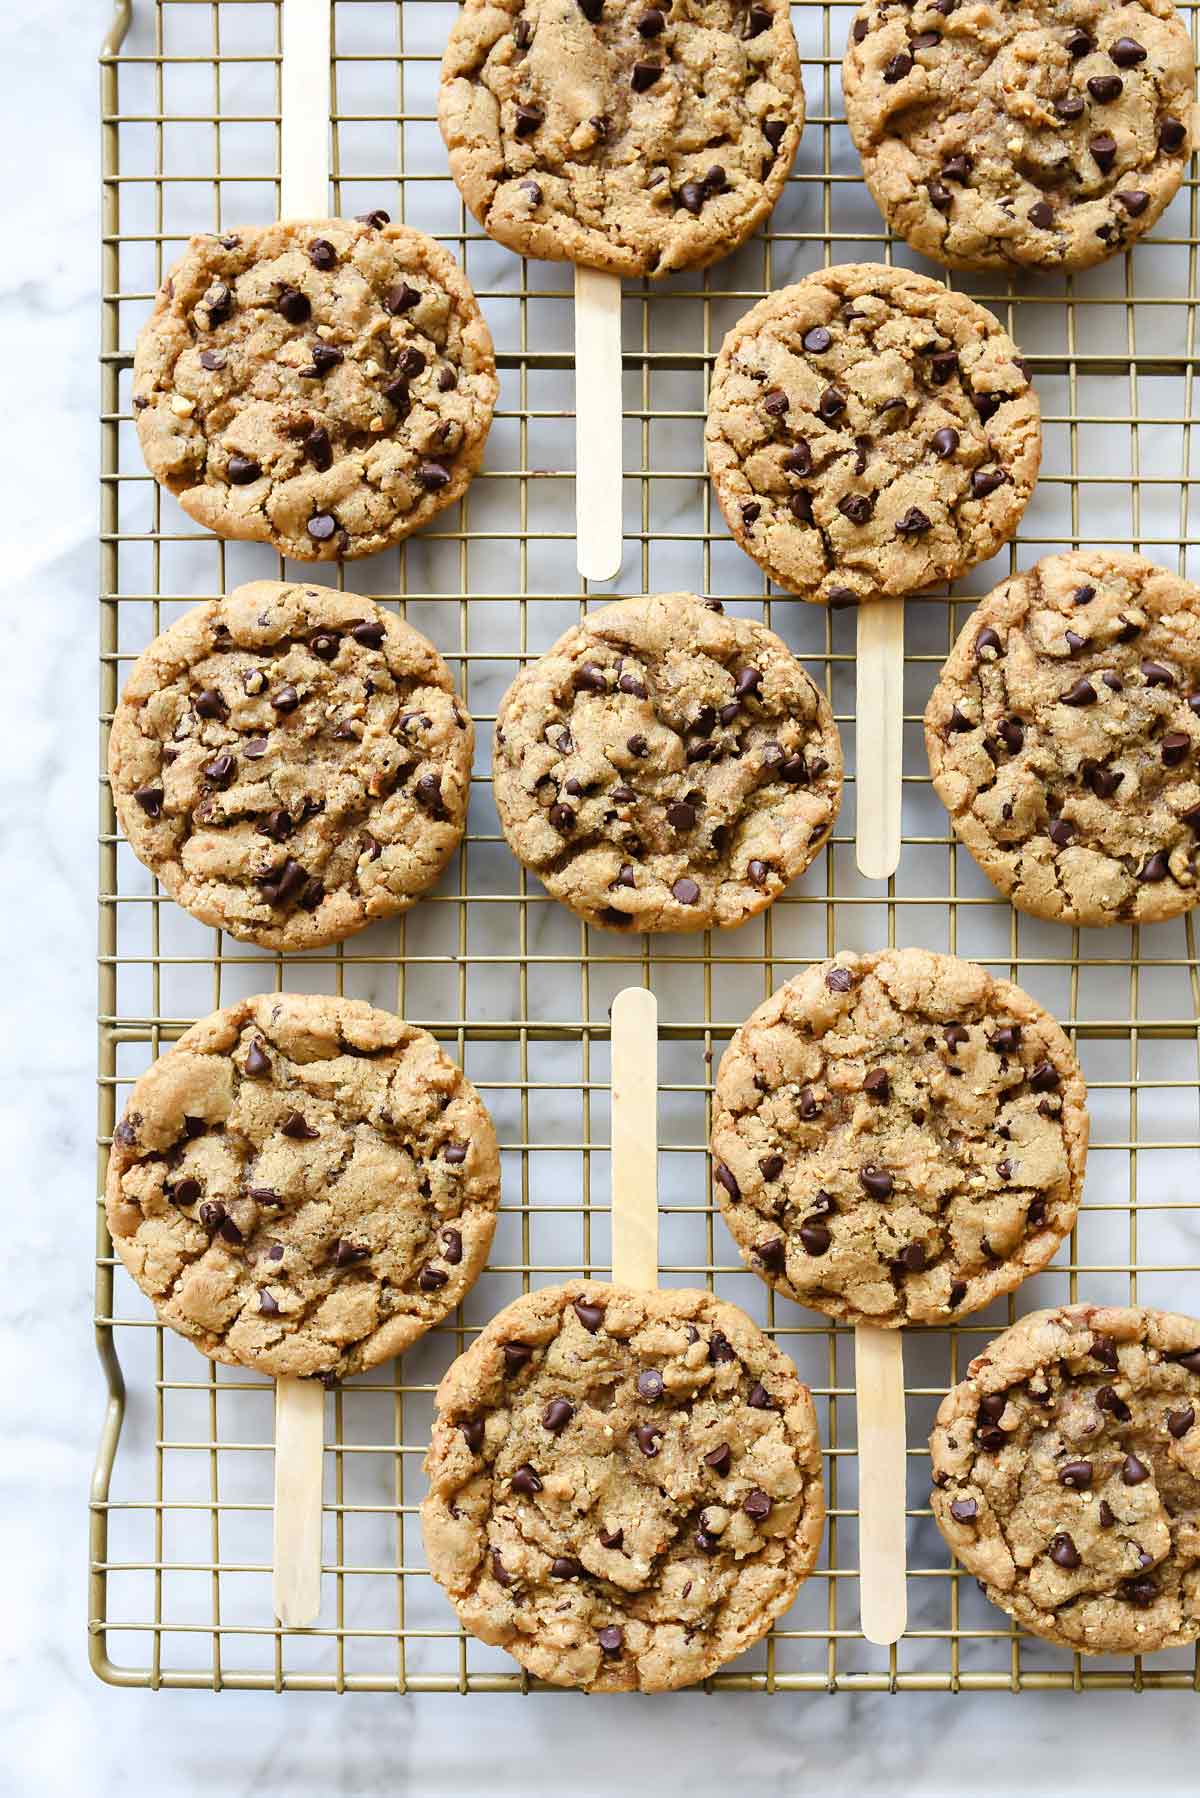
SNAPSHOTS TO COME!
Before you go:
Song of the month:
XXXTENTACION- Look at me
Quote of the month;
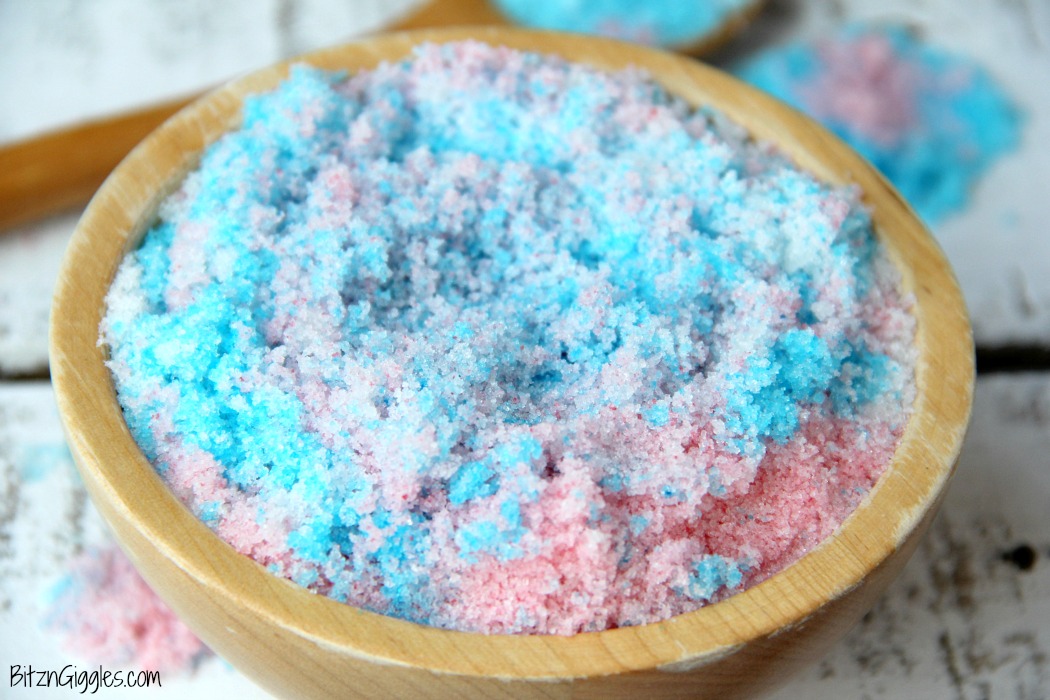
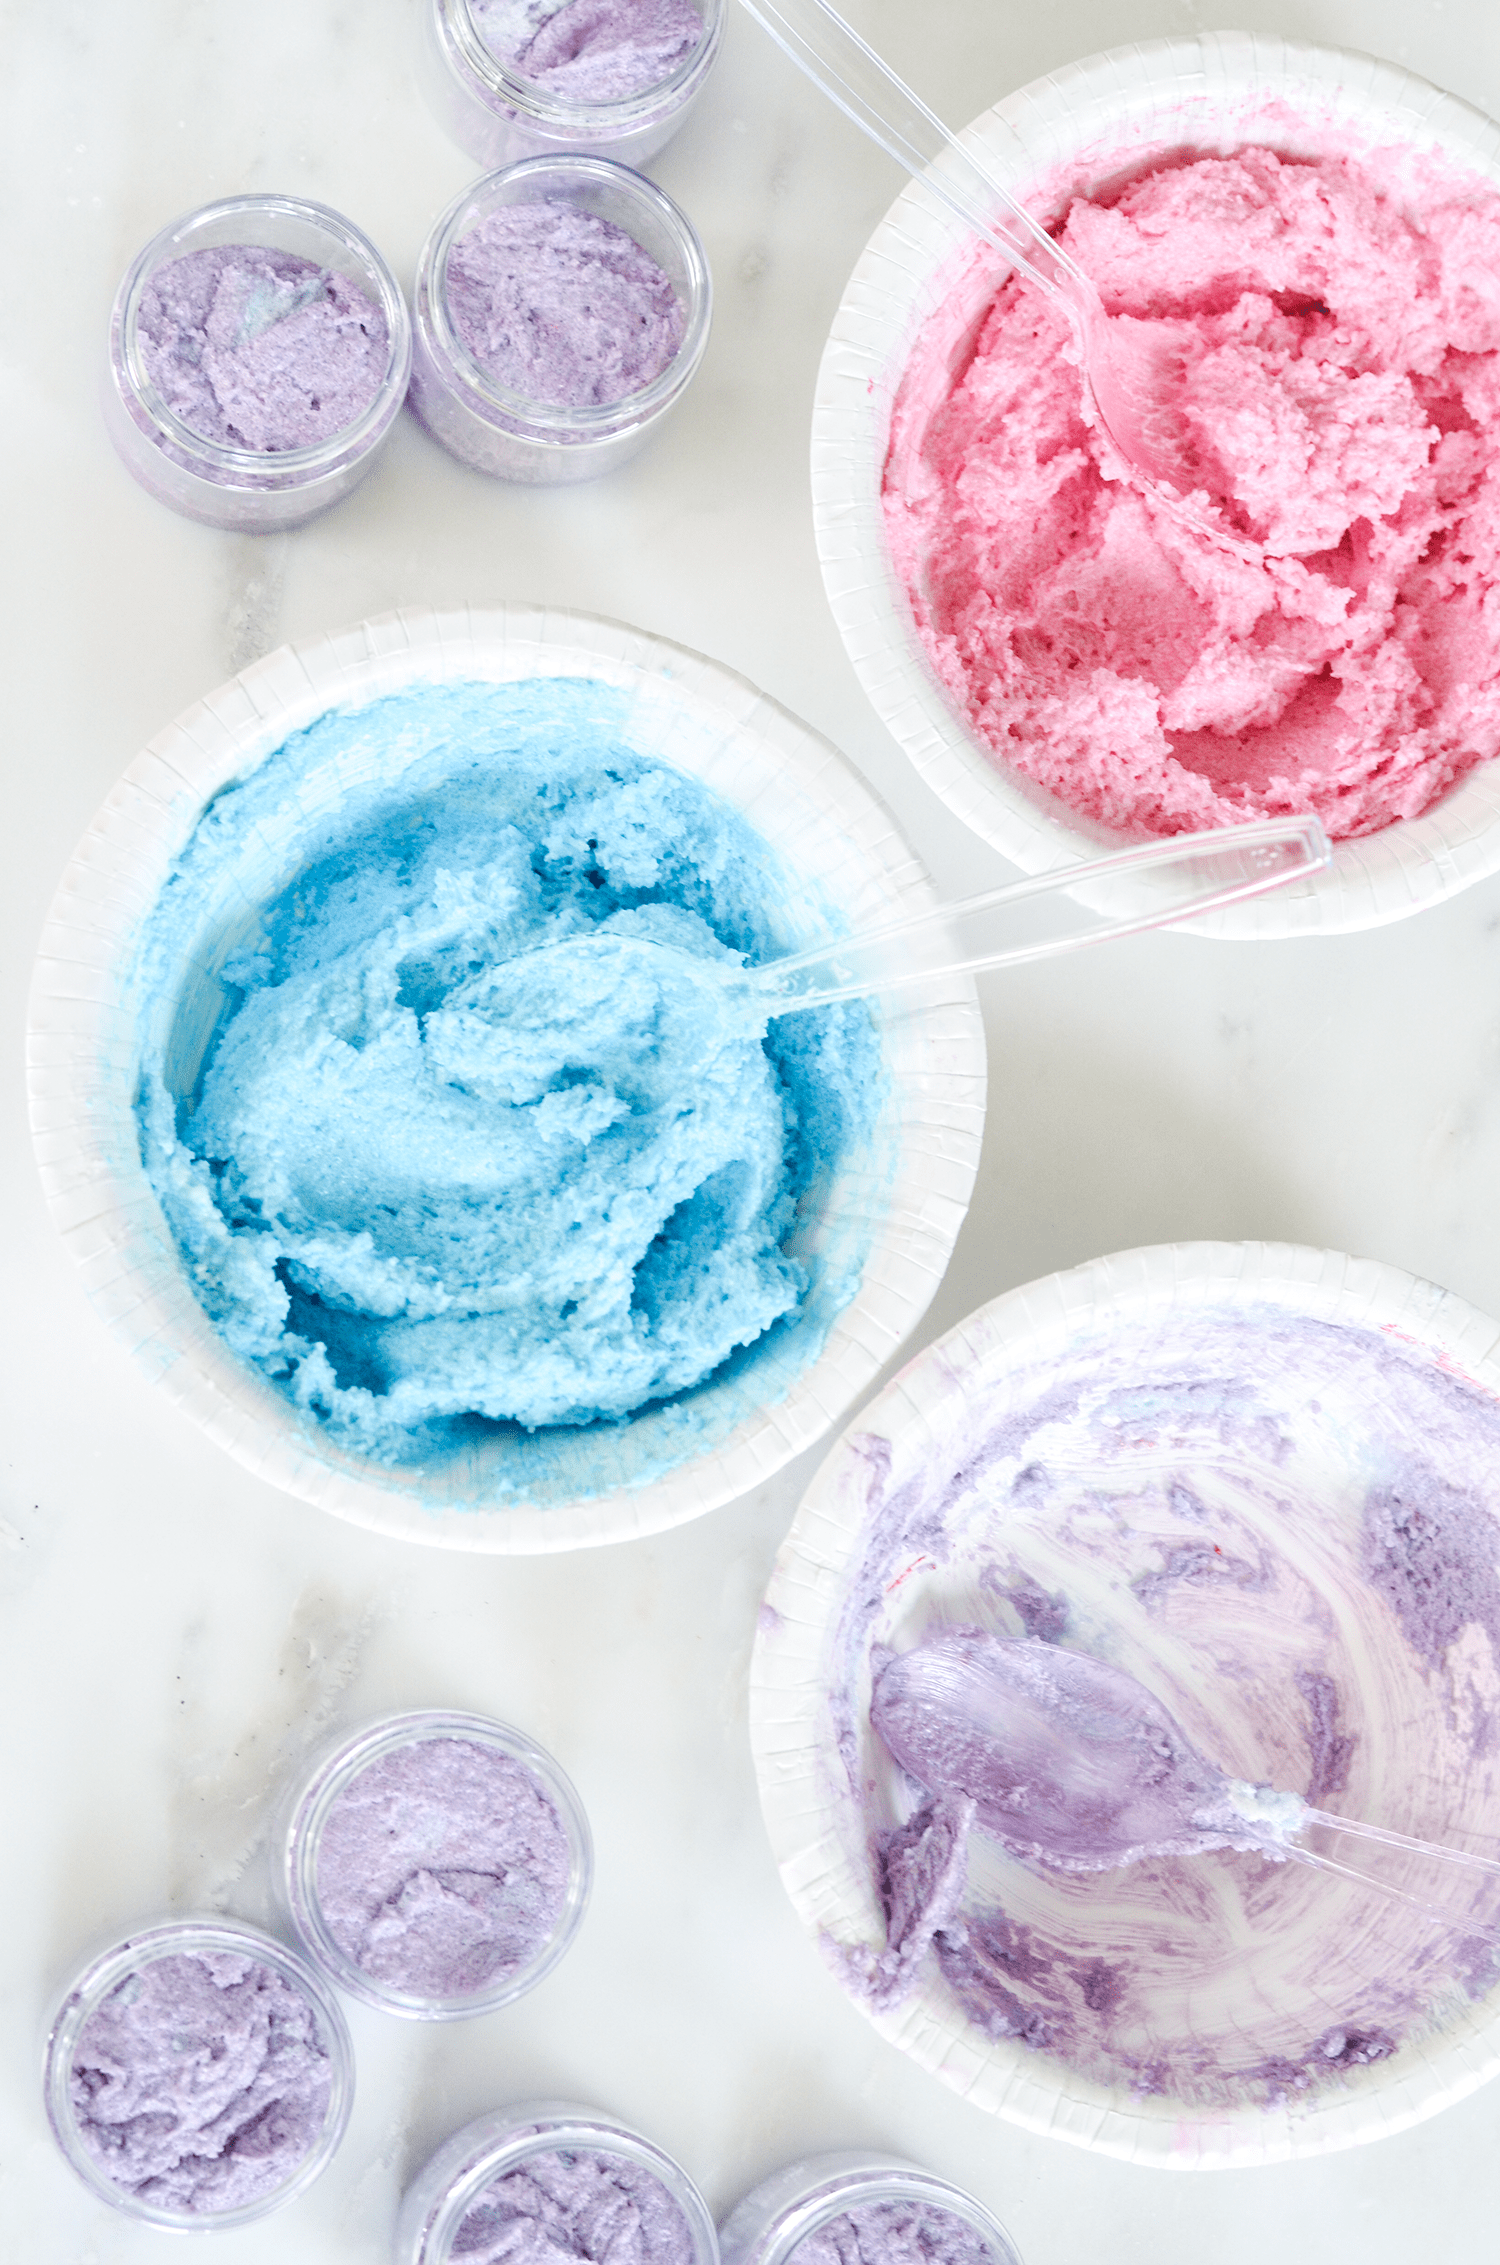
Perhaps a future recipe....(in relation to GirlsLife)
DIY Unicorn Scrub
YouTuber of the month(sorry if I've repeated the same YouTuber, I've just been watching him nonstop)
Swoozie
Isn't he adorable! New King in the making!!
 The weather in England is so confusing( am I the only English person who thinks this? Let me know in the comments)
 I hope you enjoy this recipe and I'll see you in due course!😊👋
#sweetreats xxx
What you say everyone!
First and foremost, thanks for stopping by and welcome to another post on BakingBoutique!

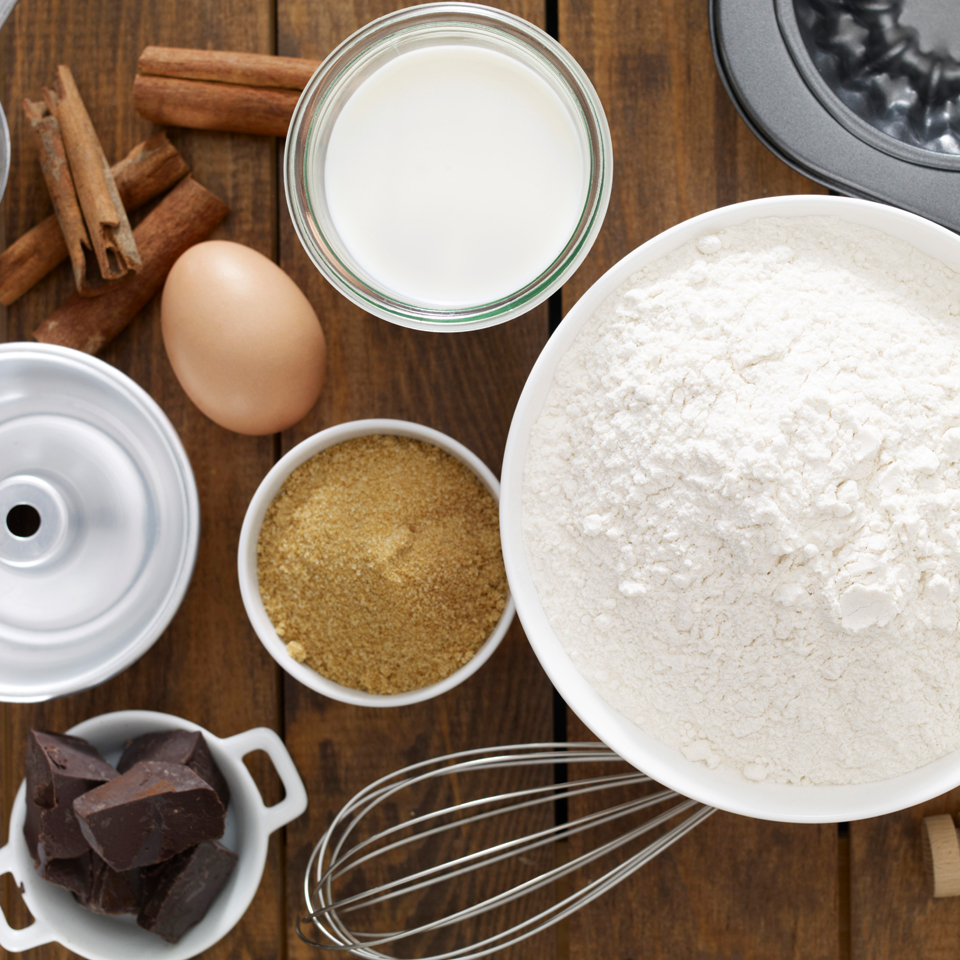
To speak the truth, I felt quite uninspired to write a post this week. This is not due to feeling lazy or having nothing better to do. It's simply because I did not want to disappoint my expectations on this here. Over on this blog, my typical posts are somewhat easy recipes, sharing step-by-step pictures of the steps and taking snapshots of the ending result. If you look back to previous posts, I've uploaded posts like so for a while. As of today, I would like to take the opportunity to take you behind the scenes of my typical recipe posts.
First and foremost, before I set off baking my sweet treats for the week, I must choose a recipe, undertake some research, select particular
ingredients which I may fancy eating or sharing. This can be difficult as in the past I've chosen recipes which are the hardest to prepare, and require impossible ingredients. Therefore, I'm always wary of what recipe I choose and
how much the ingredients cost, the time frame etc,etc.
Next, I go buy the ingredients, bring them back to the kitchen. I have an confession to make...I bake a day BEFORE my baking post uploads so I literally have a day to get all the photos, edited and perfected, up onto this blog, This explains why I found so much difficulty in consistency, last year.
When I measure my ingredients, the average time it takes to weigh all the constituents is at least 20 minutes to half an hour. I'm not too sure why this takes so this long. However, I prefer everything to be as smooth as possible, especially if I'm not familiar to what I'm baking.
Since the time it takes the weigh ingredients, I do this in the morning for when I bake later on, I'll be diving straight into baking.
From the time I preheat my oven and set the baking tray or cake tin or cupcake tray is only when I initiate my baking mission.
 |
| Lighting is essential |
The thing about taking good baking pictures is two things; the lighting has to be spot on and you have to be hast with the photos, otherwise the mix will be exposed to too much air and you could potentially have a disaster cake. For that reason, I take pictures of the batter or eggs quickly.
The method of making the cake doesn't take too long. Nevertheless, there are occasions where I spend 2 hours or more in the kitchen, mixing, adding, baking and washing up, so I'd say it varies.
Shortly after I dispute the mix into the container, I settle the cake tin or tray into the oven, set the timer and take this opportunity to wash up s, in case I have icing to follow or I generally want a clean kitchen.
Also, I take this time to edit the first set of photos. The first set of photos is the process of actually making the sweet treat. By the time the cake's baking time is finished, I'm usually complete.

I allow the cake to cool and perhaps during them, I'm preparing the icing or still editing photos, it depends. For me, it sort of takes 10-20 minutes for cakes to cool so by the time it does, it's relatively late.
From then on, I take my cake out onto a nice plate or serving platter and I'll take a ton of snaps of the after result which is usually yummy. Sometimes the ending result isn't always a success. Because I like to keep it real, I will try to make the worst cake in the world look somewhat decent. If there's nothing I can do to save the cake's fate, I won't even publish what the cake looks like in the end.
That's not the final step. It's all about uploading those pictures on time.😅 The most realistic time for uploading photos is usually on a Sunday. However I like uploading my posts on a
Saturday. And so yeah... I hope you enjoyed this little behind-the-scenes journey. I didn't go too in depth with the behind the scenes but I may do so in the future.
*I WANTED to include my own personal photos behind-the-scenes but found difficulty in doing so. I may do so, however, upload my own photos sometime later
Before you go...
Song of the month/week(whatever):
XXXtentacion- Moonlight
Book of the month:
Harry Potter and the Deathly Hallows
Coachella is offficially here!!
=

I'm not usually scared of teachers but there are a few which are extremely scary!
Participate in my latest poll !
Don't forget to comment on what you'd like to see next!
Until the next time!
#sweetreats xxx
Hiya everyone!
I hope you are all well. First and foremost, I would like to say a big thank you for all your lovely comments and praise on last week's post. One of the greatest elements of blogging is being acknowledged for the hard work exerted into a blog post.
Moving swiftly onto today's post, it appears as though I'm going through a phase of only baking with lemons. I was suspecting whether I was doing the same with ground almonds as I baked with ground almonds twice in a row and it seems apparent the same thing is occurring with lemons. So I apologize if my posts over the past couple of weeks cause you to dislike ground almonds and lemons.
In order to bake this scrummy, easy drizzle fingers, you'll need:
200g of butter, softened
200g of golden caster sugar( can't seem to find this particular sugar anywhere. Let me know where you can find this particular sugar in the comments below)
4 large eggs
100g of fine cornmeal
140g of self-raising flour
zest of 3 lemons
For the swirl and drizzle:
4tbsp of lemon curd
5tbsp of golden caster sugar
zest and juice of 1 lemon
Method:
Firstly, pre-heat the oven to 180C/ 160 fan oven/ Gas Mark 4 and ensure there is a shelf ready in the middle of the oven.
With that, butter a rectangular baking tray or small roasting tin and line with baking paper.
Place all the cake ingredients alongside a pinch of salt into a large mixing bowl and beat until creamy and smooth with electric beaters.
Scoop into the tin and level the top. Spoon the lemon curd over the batter in thick strips and using the handle of the spoon to swirl the curd into the cake.
Be subtle with this as too many swirls will not show up onto the cake.
Bake the cake for approximately 35 minutes or until golden brown and risen.
By now, the cake should've shrunk away from the sides of the tin ever so slightly and feel springy to touch.
Allow the cake to cool within the tin for 10 mins. Carefully lift the cake out of the tin and place onto a cooling rack.
To make the drizzle, mix 4 tbsps of sugar and lemon juice together and spoon over the cake. Toss the lemon zest with the final 1 tbsp of sugar and scatter over the top.
Let the cake cool completely, then lift onto a board,peel away the sides of the baking paper, cutting the cake into fingers.
And listo! SNAPSHOTS:


 Before you go....
We pray for the mass shooting at Marjory Stoneman Douglas High School and also YouTube headquarters.
Song of the month:
Sad- XXXtentacion
Follow me on Snapchat:
Check out my last post here if you haven't already
YouTuber of the month: Patricia Bright
 Her "I spent..." videos are so hilarious. I love watching them.
Continue to pursue your dreams!
Comment down below what types of recipes would you like to see next.
That's it from me! See you in the next one!
#sweetreats xxx