Saturday 26 November 2016

Baking Post 2016 N0.36- November is almost at a end...😞😒

Hola!!

First of all, thank you SOO much for your lovely comments in last week's post. Every comment you post, gives me another reason to have a beam spread across my face besides the fact that it's almost December!! 

Since I'm totally honest on my blog and elsewhere, I would say that I am finding difficulty preparing my "festive-themed" blog posts for December. As I only bake, I guess it won't exactly be so difficultπŸ˜₯. But I actually want to acknowledge those who have been sharing "Blogmas Ideas" on their blog. It's been really helpful to me and given me  a few ideas on what I shall add. That's all I shall say as I don't want to give so much away.  Here's the recipe which I found pleasure in making.


For one of my best loved recipes, you'll need:

175g of unsalted butter

175g of dark chocolate (at least 70% cocoa),broken into small pieces

375g of golden caster sugar

1 tbsp of stem ginger syrup(you can buy these from any good supermarkets or make your own-recipe will be left in the link at the end)

100g of plain flour

1tsp of ground ginger

50g of dark chocolate chunks


Method:

Firstly, preheat your ovens to 180C,160 fan ,gas mark 4. Grease and line a 20cm square cake tin with baking parchment. Melt the butter and chocolate in a heatproof bowl set over a pan of gently simmering water.

Remove from the heat and beat in the sugar. Beat in the eggs, one at a time,until smooth then beat in the stem ginger syrup. Sift in the flour and ginger into a bowl.

Fold into the chocolately mixture. Following on with folding in the chocolate chunks and the chopped stem ginger for a real spicy kick. 

Tip the chocolate mix,smoothing with the back of a spoon or spatula.

Give the tin a couple of sharp taps on the work surface, just to knock out any air bubbles. Bake this for one hour.

Just before, it's finished baking fill the sink with cold water, adding a handful of ice cubes. So once their baking time is complete, transfer the tin into the "ice bath" for 30 minutes to stop them from continuing to cook in the tin.

Once it's completely cool, turn and cut into the 16 squares.

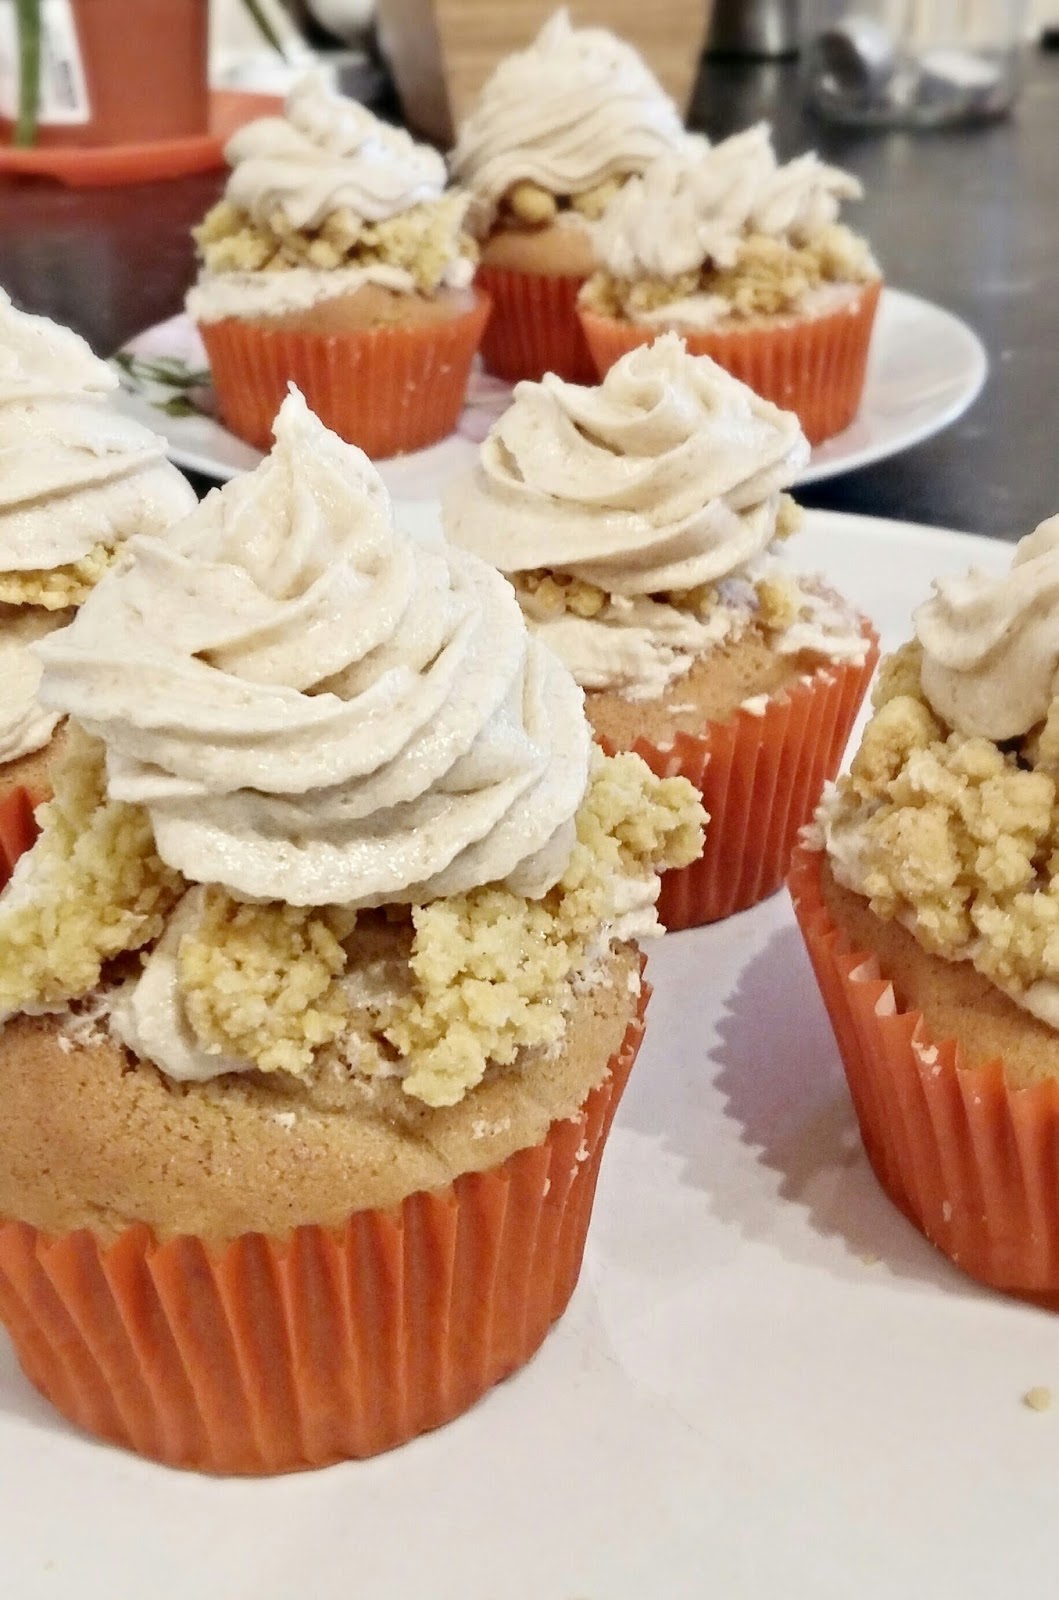
This is an optional choice, but I made the executive decision of making a chocolatey-gingery buttercream frosting, to spread across. 

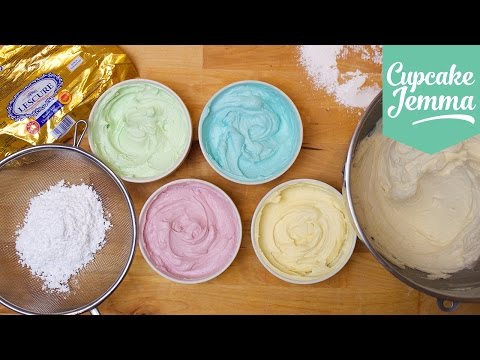
To make this buttercream, you'll need:

300g of icing sugar,sifted

100g of unsalted butter, at room temp

40g of unsweetened cocoa powder,sifted

3 tablespoons of whole milk,combined with ½ a tsp of ground ginger

Start by beating the icing sugar,butter and cocoa using either a free-standing mixer or handheld one on a medium-slow speed until the mixture comes together and it's well mixed.

Turn the mixer down to a slow speed. Now add in that gingerly-flavoured milk to the butter mix gradually. Once the milk been incorporated,turn the mixer up to a high speed. Beat until the icing is light and fluffy for around 5 minutes. The longer the icing is beaten, the fluffier and lighter it becomes.

Make sure the traybake is completely cool or else the buttercream will melt. 

Place the buttercream into the center of the traybake, using a spatula. Spread it across as much as you can. The with a palette knife any tool which spreads, expand the buttercream all round the edges until the cake is covered! And Volia! There is your Chocolate Gingerbread Traybake!!!

Photography (apologies for the delay)


Before you go...

Thank you SOO much for reading!

Stem Ginger Syrup Recipe

I'm loving Paperchase's Christmas Range!!! What about you? What things have you been loving as November ends? Let me know in the comments below.

If there are any recipes you know of which you'll like me to do or anything you want me to check out, you can mention it either in the comments below or to my e-mail: chcocolatecupcakes@gmail.com


It's been so long since I've mentioned a magazine, let alone read Shout. Their tumblr page is magnificent!

Shout Mag's Tumblr Page


I was lucky enough to get some shots in my area of the trees overhead which haven't exactly lost all of their leaves!πŸ˜ƒπŸ˜


Finally, if you'd like to see what else I have to offer on BakingBoutique, please do follow me on my SnapChat and Pinterest(if you're lucky, I may just follow you back).


Pinterest name: Chocolatelover
What to expect on my page!!😊
Thanks for reading and hope you enjoyed this week's post!!!


#sweetreats xxx


Saturday 19 November 2016

Baking Post 2016 No.35- Icing/piping techniques part two

Hiya guys! 

This week's post is a lead on from a few posts from the past, based on icing and piping techniques. As well as this blog being a pleasurable activity for me, it also is a place where I share my passion with others. In my opinion, the way to do so is teach them what you know or what you've learnt. And what better way to do that then to showcase my way of practicing my icing and piping skills?!πŸ˜ŠπŸ˜€

First of, below is the  common recipe I use in order to whip up yummy buttercream!

250g of icing sugar,sifted

80g of unsalted butter, at room temp

2 tablespoons of whole milk

a couple drops of vanilla extract

Method:

Beat the icing sugar and butter with either a handheld or freestanding mixer with a paddle attachment or a electric whisk on medium-slow speed until the mixture comes together and is well mixed.  Turn the mixer down to slow speed.

Combine the milk and vanilla extra together,then add in into the butter mixture gradually. Once all the milk has been incorporated, turn the mixer up to a high speed. Beat until the icing is light and fluffy. Minimum time would be at least 5 minutes.

This is the typical vanilla-flavored buttercream. However, to make the brown sugar buttercream, I adjusted the recipe by firstly adding 125g of brown sugar along with the butter and beating for a really long time,using only halve the quantity of icing sugar.


Now onto piping bags. I believe I haven't touched up on piping bags in my posts but it's very important and the main part of actually piping.😜

So the many three sizes of piping bags which would be the most essential to have are: small Piping bags, medium-sized piping bags and large piping bags. Whenever I'm piping icing, I usually opt for the medium-sized ones, depending on what I'm piping and what pattern I'm aiming for. With there being a variety of piping bags sizes, there is a HUGE collection of piping nozzles. There are literally hundreds of them. Below are the nozzles which I own and the ones I reach out for the most.


To begin with is my absolute favorite nozzle: Open star tip,which is usually used to pipe onto cupcakes, cakes,biscuits,pastries-the list is endless. They can create lightly textured ruffles when swirled continuously. Used at an angle, these tips create small shell -type dollops of buttercream or royal icing — perfect for adding cute borders at the base of iced cakes. Otherwise, piped directly overhead and in short bursts they make "gems," which are great for piping out meringue kisses, mini-cupcakes or tiny bursts of buttercream on top of a home made cake.

Next up is the "closed" star nozzle. This type of nozzle is perfect for piping ruffled buttercream on top of cupcakes as well as adding borders onto cakes,cookies, depending on their size. It has a more defined texture then open star tips due to the ridges being tighter.

Following on is the plain round nozzle. This is mainly used to pipe simple,rounded swirls onto cupcakes. In slightly smaller sizes, they're great for adding dots of detail onto cakes as well as being perfect for piping Swiss dots onto cakes with royal icing.

This succeeds to the "petal or ruffling" nozzle.

The,what I call the "ruffling nozzle" is ideal for adding extraordinary buttercream ruffles to cakes or for piping out impressive flowers,such as the famous rose, on top of cupcakes and cookies. 

Volia! Those you are your top 4 nozzles. So onto practicing. I had used this tip from my favorite baking vlogger, Cupcake Jemma, about practising piping. This is to just to practise on grease-proof paper first, therefore, when you feel confident enough to pipe onto your cupcakes or cookies, you can just scrap the icing back into the bowl for piping! It's a simple as!


This really worked for me as I could practise as many times as you want and make an excuse to make buttercream!πŸ˜‹πŸ˜‹πŸ˜‹πŸ˜‹

So to put my piping skills to the test, I  remade the previous recipe post of Apple Crumble Cupcakes and here are the results:

Before


When practising.....


Prior to ending this post...

I've updated the Apple Crumble Cupcake Ending pictures with this week's re-take. If you want to take a look, click here!

Favorite song of the week: Cashmere Cat- Trust Nobody ft Selena Gomez,Tory Lanez


For more help in making the "perfect" buttercream, click here!


Don't forget, if you want more BakingBoutique, please follow my SnapChat and Pinterest.


Snapchat name

Pinterest name: Chocolatelover


Thanks for reading and I'll hopefully see you next week!


#sweetreats xxx


Saturday 12 November 2016

Baking Post 2016 No.34- Cookbooks I'm crushing on at the moment

Hey guys!!😁

The inspiration behind this week's blog post came from the website "The Simple Sweet Life"- a link will be left below.

Throughout the past few months of Autumn, I've been reading non-stop. After all,it's a pleasure to get lost within the words inside a book instantly. Yeah OK, not all of that reading has consisted of cookbooks but at times, it is somewhat interesting flicking through cookbooks, discovering new recipes that I never knew even existed as well as see the aesthetic photographs of the ending result. 

First things first, I've been scouring into the good old cookbooks, coming across a few cookbook titles such as 

•Meringue Magic
• Lily Vanilli's Sweet Tooth 
• The Hummingbird Bakery: Cupcakes and muffins

Meringue Magic:
Over 30 recipes ranging between simple crisp and chewy confections sandwiching whipped cream, to wild combinations such as meringue sushi. This recipe book seriously great from great meringue recipes to improving technique. Once you've finished this book, meringues will be your next favorite thing,next to Autumn.

Snapshots from " Meringue Magic":


Meringue sushi!!


Lily Vanilli's Sweet Tooth:

In Sweet Tooth, Lily Jones( a.k.a Vanilla) takes you behind the scenes at her thriving East London bakery,present in you how to master some the core skills of baking. Sweet Tooth is the essential cookbook for anyone like myself, who is passionate about making something sweet. In opinion, this review cannot be more accurate. This cookbook is not only great for reference but constructing your own recipes as well as moving on from the cupcake once and for all.

Book photography


And finally, my book from the beginning of this entire blog, the hummingbird Bakery!!!

"You can queue along the pavement at the Hummingbird Bakery or you can stay at home with this luscious new cookbook and make some yourself!" The Observer. 

This book literally has EVERYTHING you would want to bake. From chocolate hazelnut cupcakes to blueberry muffins ,all are a delight to make.

Images from the book:


That's all from me,then.  Although all photograph from the book had been taken by other professionals ,which shall be listed below, I had taken the time and effort to take the photos from the books, reliving the photographer's work. 

Before I conclude this post...

• New blogger to check out: Cupcake Jemma 


Books I've come across: 

Flawed. 


Holding Up The Universe


Photography for the Lily Vanilli's Sweet Tooth: Romas Foord

Photography for Meringue Magic: Deirdre Rooney

Photography for the Hummingbird Bakery: Peter Cassidy


For access to the website, named above, click The Simple, Sweet Life !!


Thanks for reading and I'll see you next week!!!!

#sweetreats xxx