It has already been a week since my last post, BBQ Parkin, on BakingBoutique. For this week's recipe....it's a little different. I thought I should teach you a couple of icing techniques so you grow as a baker both professionally and deliciously.
So without further ado, here are some of the basics in icing:
Basics
Correct bag position (right handers)
 When holding an icing bag , you need to make sure that you're holding the bag at a certain angle. The two most basic angles of holding an icing bag is 90 degrees or straight up. This angle normally is used for icing flat petal flowers or stars.
The second method is icing from a 45 degrees angle or halfway vertical and horizontal. By icing at THIS angle, it's used for writing and borders.
Direction for icing right-handed:
 The easiest way to learn the direction of an icing bag is when you think the back of the piping bag as the hour hand of the clock- you can sweep out a circle with the back end of the icing bag. Imagine the circle you pictured in the air is a clock face. The hours on the clock face correspond to the direction the point the end of the bag.
Note: Right-handers should always decorate from left to right.
Correct bag position( left handers)
The two basic positions for icing with your right hand is the same for your left hand.
Directions for icing left- handed:
 Again, the directions for right hands is exactly the same for left-handers- imagine the back of the icing bag as a hour hand on a clock.
Note: Left-handers should decorate from right to left. One exception is writing and printing; everyone writes and prints from left to right.
Try practising these bag positions-you WILL get better. It took me some time to get these positions right but after a while I FINALLY picked up the position.

I know it is quite boring learning about the basics and not actually learning how to prettily ice a cupcake or a biscuit but to ice prettily you MUST know the basics. Like how to fill a icing bag correctly.
In order to perfect this, holding the actual bag correctly is one of the most important steps- make sure when you're holding the bag with one hand, you fold down the top with the other hand to create a generous cuff over your hand as shown below.

The second most important step is filling the bag accurately. With an angled spatula/ wooden spoon, fill the bag with roughly half a cup of icing.
The next step in filling an icing bag is to CAREFULLY remove the spatula/wooden spoon from the piping bag.
 Begin with removing the icing from the spatula by squeezing the bag with your thumb and fingers against the spatula and afterwards pulling it out.
 Finally, to close the icing bag correctly, unfold the cuff and twisting the bag closed- by doing this technique,it forces the icing down into the bag.
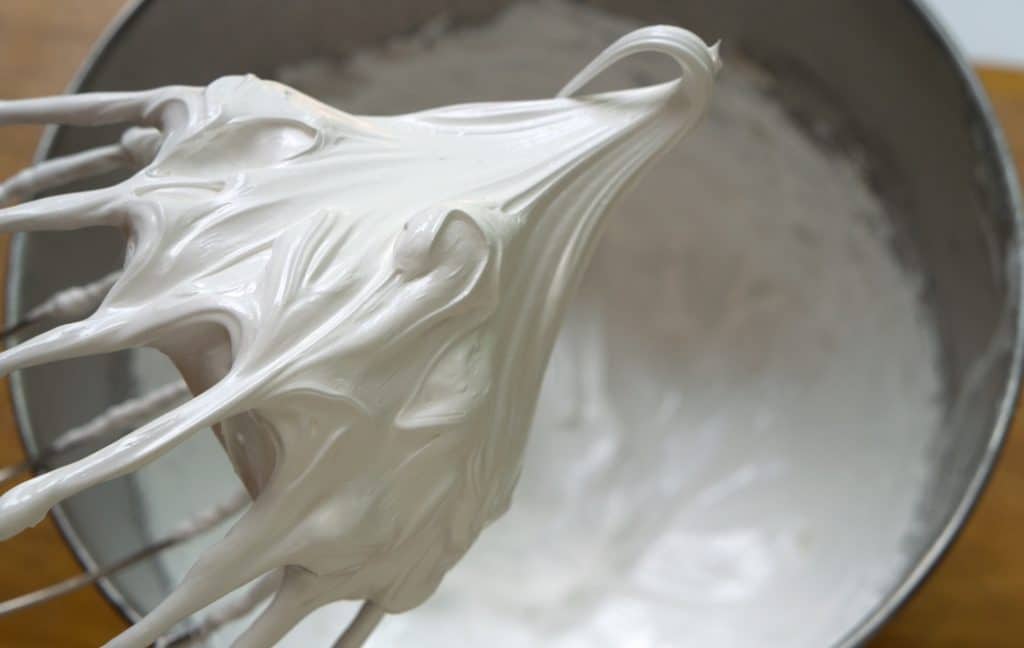
Icing consistency is very important when icing with a piping bag and also is important for the type of sweet treat that you ARE icing.
There are three types of icing for three different decorating purposes:
 Type 1: Stiff Icing- used for sculpturing shapes and decorations for treats such as cakes and biscuits.
Type 2:Medium icing- used for decorations such as stars, borders and flowers with flat petals.
 (tip) Add water or preferably milk for the right consistency.
Type 3: Thin icing- used for writing, borders and decorations such as leaves, vines


And those are some of the most important basics when it comes to icing.
At last,I'm going to explain to you how to cupcake icing tip,
steps:

Step 1: Star
Hold bag at a 90° angle
about 1/4 inch above
cupcake surface. Squeeze
letting the icing build up to
make the star shape. Stop
squeezing then lift the tip
away.

Step 2: Twisted Star
Turn your wrist in toward
you before piping. Hold
bag
at a 90° angle. You will turn
wrist a full twist, slowly
turning your hand as icing
pipes out of the decorating
bag. Stop squeezing and
lift
the tip away.

Step 3: Swirl/Rosette
Keeping the tip slightly
above the surface, squeeze
out icing to form a star.
Without releasing the
pressure on the bag, move
the tip in a tight complete
rotation, starting at 9:00,
moving to 12:00, then to
3:00 and 6:00, ending back
at 9:00. Stop pressure and
lift tip away. Swirls can be
sprayed with Color Mist
color, dusted with Pearl
Dust or Color Dust, or left
plain.
And that's it for now on Icing Techniques (though I WILL post another on icing techniques in the nearby future).
But for now, keep on practising and please DO comment on this week's post or e-mail me to: chocolatecupcakes08@gmail.com.
Keep ICING!
#sweetreats

Very useful post, #sweetreats. This post has really helped me ice cakes in more of a professional and pretty way!
ReplyDeleteBeautyBe Blogger xxxx
That's very nice to here, BeautyBe Blogger!
ReplyDelete#sweetreats xxx
weblink:www.bakingboutique.blogspot.co.uk/