Saturday, 27 February 2016

Recipe Post 2016 NO.5 -Honeycomb Cream cupcakes

Hiya everyone!

I hope you've had an awesome week and managed to check out last week's post on best baking books EVER!

This week, I'm back to baking what I always use bake-cupcakes. The last time I baked cupcakes was the start of December last year. And they were just  standard chocolate cupcakes. But this cupcake recipe is different from an  ordinary fairy cake.

In order to make these Honey Comb Cream Cupcakes, you'll need:

125g of unsalted butter,softened

50g of caster sugar

2 medium-sized eggs

75g of clear honey

125g of self-raising,sifted       

50g of rolled oats


1/2tsp of baking powder

1tbsp of milk

To decorate you'll need:
125g of unsalted butter,softened
300g of golden icing sugar
2tbsp of milk
1 Crunchie bar, crumbled

Equipment needed:

12-hole muffin tin

Muffin cases

Handheld/free-standing mixer

Wooden and metal spoon

Icing kit (nozzles,piping bag)

Method to making these honey cupcakes:

Firstly,pre-heat your oven to 190c/170cfan/374F,Gas Mark 5. Line a 12-hole muffin tin with muffin cases.

Using a handheld or free-standing mixer,whisk the butter and caster sugar in a bowl or beat with a wooden spoon until pale and creamy.

Gradually,whisk in the eggs and honey until combined.


Switch the mixer to a metal spoon and fold in the flour,oats, baking powder and milk until well mixed. Divide the mixture equally into the muffin cases.


Bake in oven for 20 minutes, checking the cupcakes every ten minutes, until golden and risen. Cool in the tin for five minutes before transferring onto a cooling rack to cool completely.
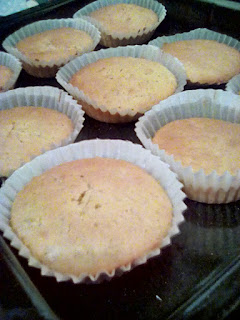
To decorate this cupcakes,place the butter into a bowl and whisk until fluffy. Gradually, add half
the icing sugar and whisk,then add the milk and the remaining icing sugar and whisk until light and fluffy.

Insert a star nozzle into a piping bag,fill the bag with the buttercream icing and pipe a swirl on the top of each cake. Decorate each cupcake with broken pieces of a Crunchie Bar. 


And that's how you make Honeycomb Cream cupcakes! I hope you've enjoyed this week's recipe. If you do manage to make these cupcakes, please send me a picture to"chocolatecupcakes08@gmail.com" or comment below to let me know how you got on-I'd really appreciate it!

For now, stay tuned to my next blog post!

#sweetreats xx


Saturday, 20 February 2016

Recipe Post 2016 N0.4- My list of best baking books...ever!

Hiya everyone!

I hope you enjoyed last week's post and I appreciate all your comments and +1's. 

The theme I've chosen  for this week's post is different to what I normally publish just because it was really fun to write (not that my other posts aren't fun to type)and because it was kind of nice to blog about a different asset  of baking... So here is the list of my best baking books...ever!


First best baking book on the list for me is "Perfect Cake Decorating". I absolutely adore this book because of the AMAZING
photography of all the prettily decorated cakes,brilliant baking advice,tips and instructions-it's just the perfect book tailored
for both amateur and professional bakers. 

(I apologize for the quality of these pictures, my phone camera quality wasn't at its best).


The second best ever baking book on my list is "Hummingbird Bakery-Cupcakes and Muffins"

I personally find this book a favorite just because my first ever recipe post on BakingBoutique was from this book.The book includes pages of awesome recipes and professional pictures and also baking tips.

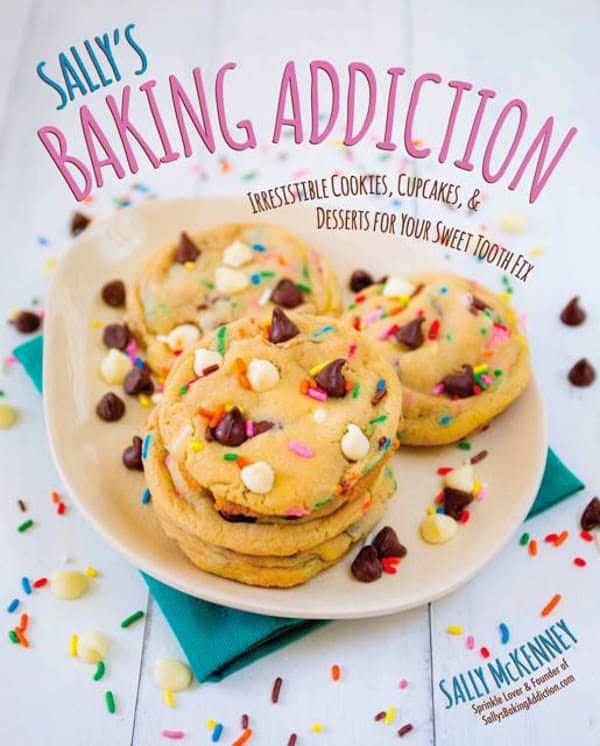
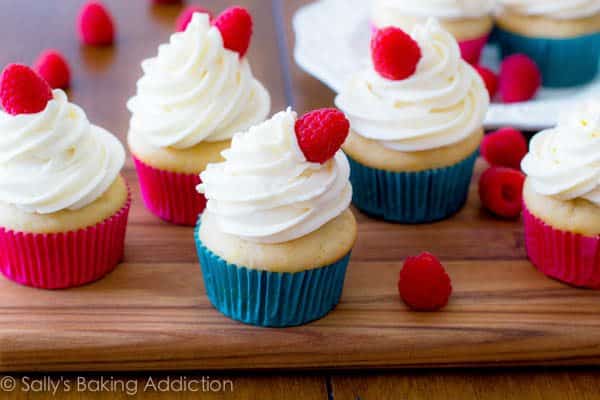
My third choice is "Sally's Baking Addiction Cookbook". I don't necessarily have the book
because it's not available in my country. However, I have read a preview of the book on Amazon and just like her blog, it's brilliant. She has packed
some fantastic recipes from her blog into her cookbook. If you can, I recommend you to buy this book and use it!

My fourth choice more is a mix of crafts,activities and recipes. Despite this being more than just a recipe book, it's still a great book that I recommend to anyone who likes 
to craft and bake.

My favorite recipe from this book is "Skye's the limit Birthday Cake". It's a fruity,delicious bake that I hope to feature in one of my upcoming posts.

"Life is sweet" is another of the best baking books ever! 
 This baking book contains recipes for all sweet treats and was released around the same time last year.


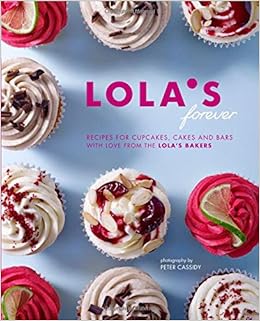
Also on my list of best baking books ever is... "LOLA'S Forever: Recipes for cupcakes,cakes and slices." Just like Sally's Baking Addiction Cookbook,this book isn't available in my country. Though, I did look at the preview and chose for this book to be on my list. I haven't actually heard of this author before and I've never seen her work.
However, I found the content of the book professional. The preview of the book revealed some creative and inventive cupcake recipes which I found quite interesting, cool and something I'll definitely like to try out.


My final selected baking book on my list is a fictional book based on real-life situation and is about baking for love. The book's called "The Baking Life of Amelia Day" written by Vanessa Curtis. I absolutely   adore the book and when I read it for the first time, I could not put it down. Literally! To go with the plot of the story, the author has included recipes that the character had baked! I won't spoil the book for those who haven't read it but...it's a touching story.

I hope you've enjoyed this week's post. Comment below on any awesome baking books that I haven't discovered and you'd like to share  or e-mail me a description of your favorite baking book to: chocolatecupcakes08@gmail.com .

Enjoy catching up with reading!


#sweetreats xxx


Sunday, 14 February 2016

Valentine Day Special on BakingBoutique

Happy Valentine's Day everyone!


Seeing as this is quite a special occasion for many people, this week's post is red velvet cookies. I feel this recipe is a lovely treat for anyone you had in mind and  also AMAZING because it's a cookie with ingredients from my favorite cake!  After all, wouldn't it be awesome for a cake to be in a cookie?!  

  •  In order to make this Valentine treat, you'll need:
  •  
  • 198g plain flour be sure you don't  over measure

  • 21g unsweetened cocoa powder 

  • 1 teaspoon baking soda

  • 1/4 teaspoon salt
  •  
  • 115g of unsalted butter, softened at room temperature.
  •  

      
  • 150g light brown sugar or dark brown

  • 50g granulated sugar
  •  
  • Plain square dark chocolate bar
  •  
  • 250g of icing/confectioner's sugar
  •  
  • Two-three teaspoons of 
  •  warm water
  •  
  • Red food colouring
  •  
  • Equipment needed:
  •  
  • Free-standing/handheld mixer
  •  
  • Knead mixing attachments 
  •  
  • Baking tray 
  •  
  • Grease proof paper 
  •  
  • Rolling Pin 
  •  
  • Heart cookie cutter 
  •   
  •  Method to making this sweet treat:
  •  
    Preheat oven to 180c/160 fan over/Gas Mark 4. Line two large baking sheets with parchment paper or silicone baking mats. Set aside.

  • Toss the flour,cocoa powder,baking powder and a pinch of salt together into a large bowl. Set aside.
  •  
  • Using a free-standing or
    handheld mixer,beat 
  • the butter on high speed until creamy for about 1 minute.Scrape  the sides and the bottom of the bowl as needed.

Switch the mixer to medium speed and beat in the brown and granulated sugar until combined.

Beat in the egg, milk, and vanilla extract, scraping down the sides and bottom of the bowl as needed. Once mixed, add the food coloring and beat until combined.  
  •  
  •  
  • Once mixed, add the food coloring and beat until combined. Turn the mixer off and pour the dry ingredients into the wet ingredients. Turn the mixer on low and slowly beat until a very soft dough is formed.  
  •  
  • Beat in more food coloring if you'd like the dough to be redder. On low speed, beat in the chocolate chips. The dough will be sticky.  
  •  
  • Cover the dough tightly with aluminum foil or plastic wrap and chill for at least 1 hour (and up to 4-5 days make sure you let the cookie dough sit out at room temperature for about 45
    minutes before baking if chilling for more than 1 day.). Chilling is mandatory. 

     Scoop 1.5 tablespoons of dough and mould into a bowl. Seeing as today's Valentine's Day, you might decide to mould the dough into hearts-this is optional. place nine balls on each sheet and bake each batch for 10-11 minutes.
     
    Allow the cookies to cool on the cookie sheet for 5 minutes before transferring to a wire rack to cool completely.

    To decorate your cookies, first pour half of the measured icing sugar into a bowl. Pour two-three tablespoons of warm water and stir until icing is a thick consistency.

    Seeing as this recipe is Valentine-themed, I wanted to decorate my cookies with homemade fondant icing hearts. I did this by pouring the rest of the icing sugar into a bowl. Then I poured a couple drops of Dr Oetker Red Gel Food Coloring before adding a tablespoon or two of warm water. From there, I began to stir and also add more icing sugar until icing sugar was doughy. I then kneaded the "dough" a couple of times before rolling out with a rolling pin and using a heart cookie cutter to cut out hearts.I stuck the hearts onto the cookies by blobbing small amounts of glaze icing at the back of the fondant hearts-they really looked romantic and just very cute and pretty!   
  • Make someone's day by sharing these cookies  this Valentine.
     I hope you've enjoyed this week's special on BakingBoutique. Please comment and +1 today's recipe if you liked this week's blog post. 
  •  
  • I hope you share Valentine's Day with someone special!
  •  
  •  
  • Stay tuned...
  •  
  • #sweetreats xxx 
  •  
  •                      

  • Happy Valentine's Day... xxx
  •  
  •  
  •  
  •  
  •  
  •  
  •  
  •  
  •  
  •   

  •  


  •  

  •  

  •  
  •  

  •  
  •