Sunday, 31 December 2017

Baking Post N0.30- Last post of the year!!!πŸ˜”πŸ˜­πŸ˜­πŸ˜’πŸ‘‰πŸŽ‡πŸŽ‰πŸŽŠ

Happy New Year's Eve everyone!!!!

First and foremost, I cannot conceptualize how quickly 2017 has passed. I,personally, can't say 2017 has been a highlight year since it went by so quickly. To send 2017 a good farewell from BakingBoutique,truly, I have compiled a video of my best "moments(a.k.a posts) over this year on BakingBoutique. I hope you enjoy and I pray that the video actually uploads ON TIME for this video.


Prior to this post ending:

Song of the month:

Migos, Nicki Minaj, Cardi B- Motorsport


Quote of the month:


I urge you to check out my last post, I only uploaded photos today. Sorry for the long wait.

Baking Post N0.29-Christmas Feast Pt.2


New Year's Eve Feast


8 things to do on New Year's Eve


Any new year's resolutions,folks?


😍😍⇩⇩


In accolade to another new, prosperous year, I'll be doing shoutouts of readers over on my Snapchat. If you'd like to be shouted out, comment below:Bye 2017, along with the social media account you'll like me to shout out.
                         ⇕⇕


Have a happy,happy,happy new year and I'll see you lot in 2018!


Lots of love,

#sweetreats xxx😘😜😝

Sunday, 24 December 2017

Baking Post 2017 N0.29- Christmas Feast Pt.2

Happy New Year's Eve!

I cannot surmise how BakingBoutique is celebrating Christmas a second time in a row!😁  To make 2017's Christmas extra special,below are snapshots of all the treats I created for our magical Christmas feast! Since my feast
occurs on Christmas Day, photos are still pending. Until then, check out yesterday's post here. With that being said, stay tuned for a annual New Year's Special I always have planned on this blog. For now, have a very merry Christmas and a happy 2018!


Toodles!πŸ‘‹

#sweetreats xxx 

Saturday, 23 December 2017

Baking Post 2017 N0.28- Christmas Feast Pt.1

καλά ΧριστούγΡννα! An early merry Christmas from me! 

Unlike last year, I tackled a series of recipe posts in the run up to Christmas, my own baking version of Vlogmas, basically. Nonetheless, my run-up to Christmas has chiefly been behind-the-scenes, acquiring Christmas presents, cards and decorations which conveys the message of Christmas loud and clear for all to hearπŸ˜…πŸ˜.  To acculturate my absence this "Festimas", I've settled on concocting a monumental feast, sharing a line-up of Christmas cuisine. 

First and foremost is Cheesecake Cookies. As queer as it sounds, these cookies are definitely winsome and surprisingly easy to make.

To bake these toothsome treats, for the cookie dough you'll require:

100g of margarine

100g of caster sugar

1 egg (I used a medium-sized egg)

200g of plain flour

1tsp of vanilla essence

For the filling inside, you'll desire:

100g of sour cream

200g of cream cheese, at room temp

100g of sweetened condensed milk

2tbsps of lemon juice 

strawberry jam

to decorate your cookies can be your choice. Nonetheless, since this is a Christmas-themed post, I'll be using red and green food colouring and sprinkles.😊

Method:

Primarily, start by place the butter and sugar into a medium-sized bowl, mixing until a fluffy texture.

Subsequently, incorporate the egg into the mix. Following this, sieve in the flour, combining this before kneading into a ball.

Divide the dough into two parts, gathering each portion into a slightly flattened ball. Working with one ball of dough at a time, roll out between two baking sheets of paper to the thickness of 0.5cm.

Use a cookie cutter to stamp out circles, drape each circle over a bowl cavity of a pan. In other words, I used the bake of my muffin tin.

Press it slightly to form a smooth surface.

Refrigerate for 12-15 minutes. In the meantime, pre-heat the oven to 180℃/160℃/Gas Mark 4.

Following this, slip these cookies into the oven for approx 10-12 minutes. Leave to cool on the pan for 10 minutes, prior to allowing to cool on a cooling rack.

When cool, prepare the cream cheese filling. In order to do this, mix the sweetend condensed milk, sour cream into a medium-sized bowl until combined.

Add in the lemon juice, mixing well. Place two tablespoons in a small bowl, and another two tablespoons in a seperate small bowl.

Tint each bowl with desired colour (I opted for green and red since they're very Christmassy colours).

Pop one teaspoon of strawberry jam in every cookie bowl, filling with cream cheese(if you'd like, you can use a piping bag to fill the "cookie bowls").

Decorate as one wants, storing in the fridge to set(about 4 hours, or 24 hours if you're using whipped cream instead of sour cream.)

And Ξ΅Ξ΄ΟŽ! These treats can be stored in the fridge for several days.

The following creation is super straightforward, entitled Chocolate Covered Marshmallow Reindeer. As stated in the titled, it literally is what it says. 

To make the following, you'll need:

Large-sized marhsmallows

Skewers/lollipop sticks

Ribbon

Melted Chocolate(probably around 150g of chocolate, although the recipe didn't clarify this).

Small sized pretzels (I opted for the salty pretzels)

Sweets which are small enough to take shape of the eyes and the nose.

A foam block(in particular a sponge).

Essentially, begin by break the pretzels in half, and stationing the marshmallows on the stick. Impel the sticks into the foam block.

Next, score the tops of the marshmallows in order to join the "antlers" into the marshmallow.

Once your preparation is complete, melt your chocolate. Individually, dip a marshmallow into the chocolate, being sure to fully coat the marshmallow in chocolate. 

Pierce the pretzel antlers through the holes in which you scored,holding them down for a few seconds.

 For the nose and eyes, either add them whilst the chocolate is still wet or complete the whole batch, then dab some more melted chocolate onto each piece and attach it to the marshmallow.

Once dry, tie a piece of ribbon around the stick. There!

Finally, the most momentous bake of all is my Mum's all-so-winsome Caribbean Christmas Cake. Sadly for you, my Mum's Christmas Cake Recipe is top secret. However, I'll be sharing pictures of its final result.

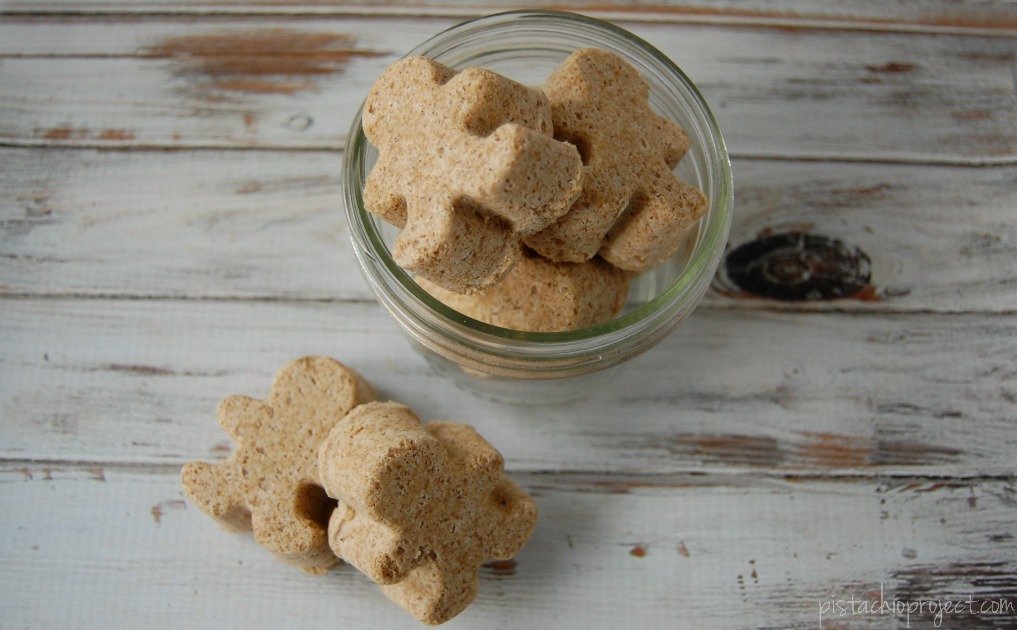
Moreover, my gingerbread cookies are to be added to my Christmas Feast. 

Before you go:

In case you're unaware, I've situated a Christmas Countdown on the homepage of this blog. Although it's titled New Year, it's a countdown up until Christmas Day. Yes, I am just as excited about Christmas as you are. 


Although, ngl but it took me a long while to get into the Christmas spirit.


I find this idea so cute!😊😊


Winter photos 2017


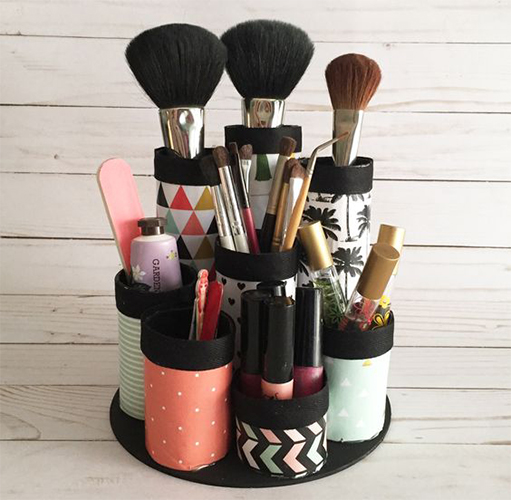
DIY your lifeπŸ˜πŸ˜‰


Thing besides Noragami which I've been OBSESSED with:

Episode 


That's PT.1 of my Christmas Feast. Stay tuned TOMORROW for all the pictures and Christmas Cheer!😁

Αντίο!


Saturday, 16 December 2017

Recipe Post 2017 No.27- Gingerbread Cookies

First and foremost, I sincerely apologize for the non-existence over here! The plight of conceiving Christmas this year,alongside school work has taken my mind over completely, leaving no area for this blog. 

Moreover, Christmas isn't Christmas without the concoction of gingerbread cookies. These gingerbread men are your typical Christmas-themed cookies,setting the spirit for Christmas 2017.

In order to bake these Christmas-sy cookies, you'll require the following;

175g of dark muscovado sugar (I find this type of sugar difficult to spot so I usually use dark brown sugar or soft dark brown sugar)

85g of golden syrup

100g of butter

350g of plain flour, plus extra for dusting

1 tsp of bicarbonate of soda

1tbsp of ground ginger

1 tsp of ground cinnamon

1 egg,beaten

To decorate(optional but the funniest part of making these cookies):

ready-made writing icing

chocolate buttons/ small sweets

Method:

Primarily, melt the sugar,golden syrup and butter into a saucepan, allowing to bubble for 1-2 minutes. Leave to cool for approximately 10 minutes.

In the meantime, tip the flour, bicarb of soda and spices into a large mixing bowl. Incorporate the warm syrup into the flour mix, alongside the egg, and stir everything together. Subsequently, knead the mix in the bowl until smooth and  "streak-free". 

Once cooled, the dough will firm up. Wrap in cling film and chill for 30 minutes. (during then, I'll most likely be editing the photos for this post so...)

Remove the dough from the fridge. Leave the dough out at room temp to soften. 

By now, heat the oven to 200℃/180℃/ Gas Mark 6. Line two baking trays with baking paper.

Roll out the dough to a approximate thickness of a £1 coin. Stamp out the gingerbread people with your cutter.  Re-roll excess dough until all is used(recipe doesn't specify whether the dough can be freezed or re-used...πŸ˜•)

Bake for 10-12 minutes, swapping trays over halfway through cooking(make a mental note of this so you will not forget). Leave to cool in the tray for 5 minutes, transferring to a wire rack to cool completely.

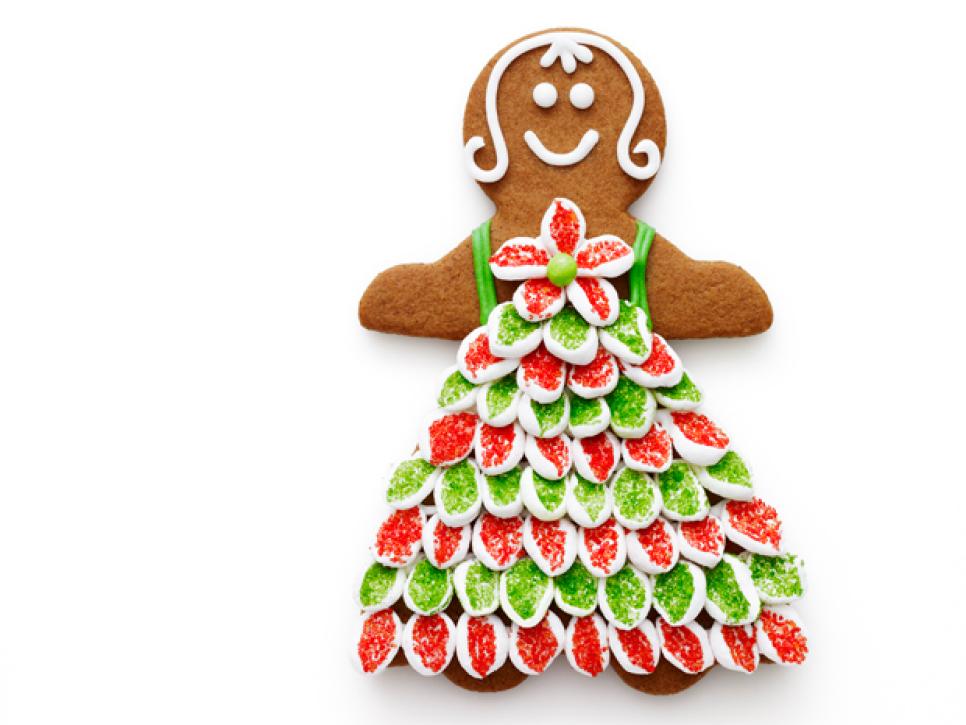
Once wholly cooled, decorate the gingerbread in however way you like. Although I shan't be uploading my attempt on the cookies until a later date, below are a few ideas of decorating your gingerbread.


Before you go...

I thought I should slip this in hereπŸ‘


I'll shortly be inserting my Christmas Playlist for this year.

I need this!


It was snowing the other day!!!


Birthday pictures(because I didn't insert them in my last post).

YouTuber of the month:

Abigail Kwayke ↓↓


Inspirational quote of the month:


It's officially a countdown till Christmas.


See you later,alligator! 

#sweetreats xx


Saturday, 2 December 2017

Recipe Post 2017 N0.26- 2 months later...πŸŽ‰πŸŽ‡πŸŽŠ

Hey everyone!

First and foremost, thank you so much for the comments and love over at my last blog post-as always I absolutely appreciated it all. To be frank, I feel like I'm right back in the swing of this blog!

Moving swiftly onto this week's post, if you aren't aware, BakingBoutique had celebrated its 2nd birthday from what feels like a week ago but actually 2 months ago and now it's my turn! My birthday is tomorrow but as of today, I'm celebrating with a couple of friends at a resturant. But if you know me by now, you know I couldn't celebrate properly without baking a batch of cupcakes for my friends which is what I'm sharing with you today. They're SUPER EASY, and went down a real treat with everyone(no literally, EVERYONE loved them) so I'm passing my secret.πŸ˜‰

So without further ado, to concot this delicously delectable carrot cupcakes, you'll need the following:

3 medium-sized carrots, peeled and grated

100g of soft light brown sugar(as my usual suppliers was out of stock, I used demerara sugar instead which is just as good, in my opinion)

80g of unsalted butter, softened

80g of golden syrup(to save us all from excessive sweetness, I only used 60g of golden syrup-but don't worry, there were no malfunctions to the recipe).

2 medium eggs

150g of self-raising flour

½ tsp of bicarbonate of soda 


1 tsp of cinnamon

pinch of salt

For the yummy cream cheese icing(if you dislike cream cheese, I guarantee you won't actually taste the cream cheese):

50g of unsalted butter

110g of low-fat cream cheese(ok so the recipe said low fat but I brought FULL FAT cream cheese. Does that make a difference?Let me know in the comments below)

225g of icing sugar

1 tsp of vanilla extract

Directions:

Primarily, pre-heat your ovens to 180℃/160℃/ Gas Mark 4.

Line a 12-tin cupcake tray.

Within a large suacepan, combine the butter,sugar and golden syrup, melting together over a medium heat. Stir this to combine.

Once combined, remove from the heat. Subdquently, stir in the self-raising flour, salt, bicarbonate of soda, ground cinnamon, grated carrot and eggs. 

Mix the ingredients well until you have a smooth batter.

*at this point, the mixture will look kind of gross but don't be put off by this.

The recipe said to spoon the mixture into the cupcake cases but I'd recommend you POUR the mixture ¾ of the way full. Bake this for 20-25 minutes until risen and a cake tester comes out clean from the centre. 

Allow to cool on a cooling rack.

In the meantime, to prepare the cream cheese frosting, combing the butter and cream cheese together for around 2 minutes. Gradualy, start to slowly incorporate the icing sugar and vanilla extract. Be mindful when beating the cream cheese. OVERbeating the cheese causes the icing to turn floppy and runny.

Beat the icing sugar and vanilla extract until smooth. Transfer the frosting into a piping bag with a fitted star nozzle.

Once the cupcakes are cool, pipe the icing onto the cakes in a swirling motion. And volia! 

If you'd like, you could even garnish the top of the cupcakes with sprinkles, chocolate, desiccated coconut or whatever floats your boat.

Snapshots:

TO COME

Prior to this post ending:

Birthday shots:


I thought this idea was endearing: DIY Advent Calendar


Song of the month: Madison Beer Dead


Happy 2nd day of December!


See you in my next one!😘